339
Item nr.

| Production | USA, 1947. |
|---|---|
| Bands | MW. |
| Tubes | 12SA7, 12SK7, 12SQ7, 50L6GT, 35Z5GT. |
| Cabinet | Moulded. |
| Power | AC/DC 115V. |
| Documents |  Schema. Schema. |
| Obtained | 4/2012 from Bob Prins. |
|---|---|
| Condition | 6. |
| Disposed | Sold 3/2015. |
| Sound sample | PLAY SOUND Short lecture on Freedom of Press. |
 I had some problems pulling the chassis, because of rusted nuts. One was behind the output tube, could be hardly reached and the cross in the head was worn out. I got the suggestion to drill out the nut, which I did, after which I could remove the chassis from the cabinet.
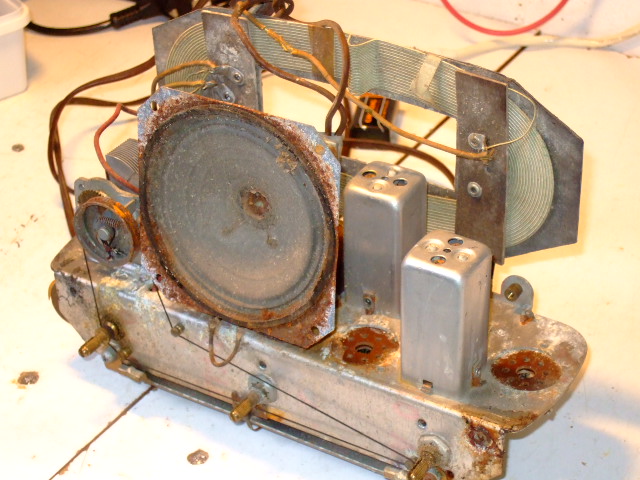
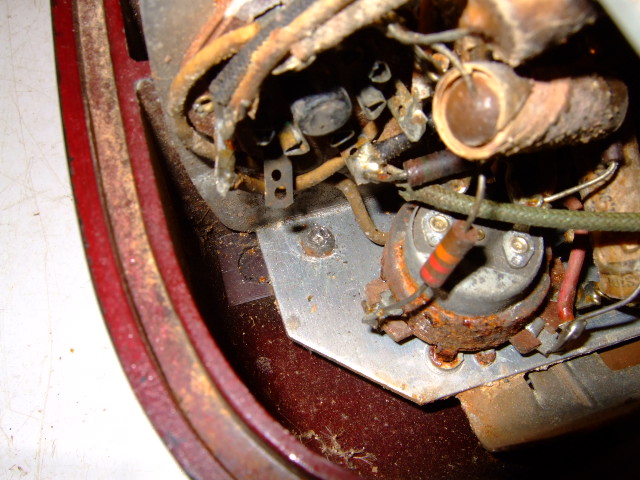
 Where has this chassis been burried or drowned over the past 60 years? There is a lot of corrosion and crumbled isolation. From under (right) it does not look much better. Actually, this is the top, because the chassis is mounted upside down in the cabinet.

 Needless to say, all paper and electrolytic caps need replacement. Normally I would do this one by one (removing one and putting the new one in place directly). But here, also a lot of the wiring must be replaced, and to have more space I decided to remove all caps, then replace the wires one by one, then put back new caps. The 35Z5 rectifier was missing, and I soldered a diode and some resistors in an octal base to replace it.
 After a few evenings of soldering and measuring, my set looked a bit decent, and I trusted it sufficiently to put power on it. Nothing burned or exploded, but I did have to correct a few wirings. Then the radio worked. It isn't very sensitive, but the operation is fine. Next thing, I should paint the cabinet.